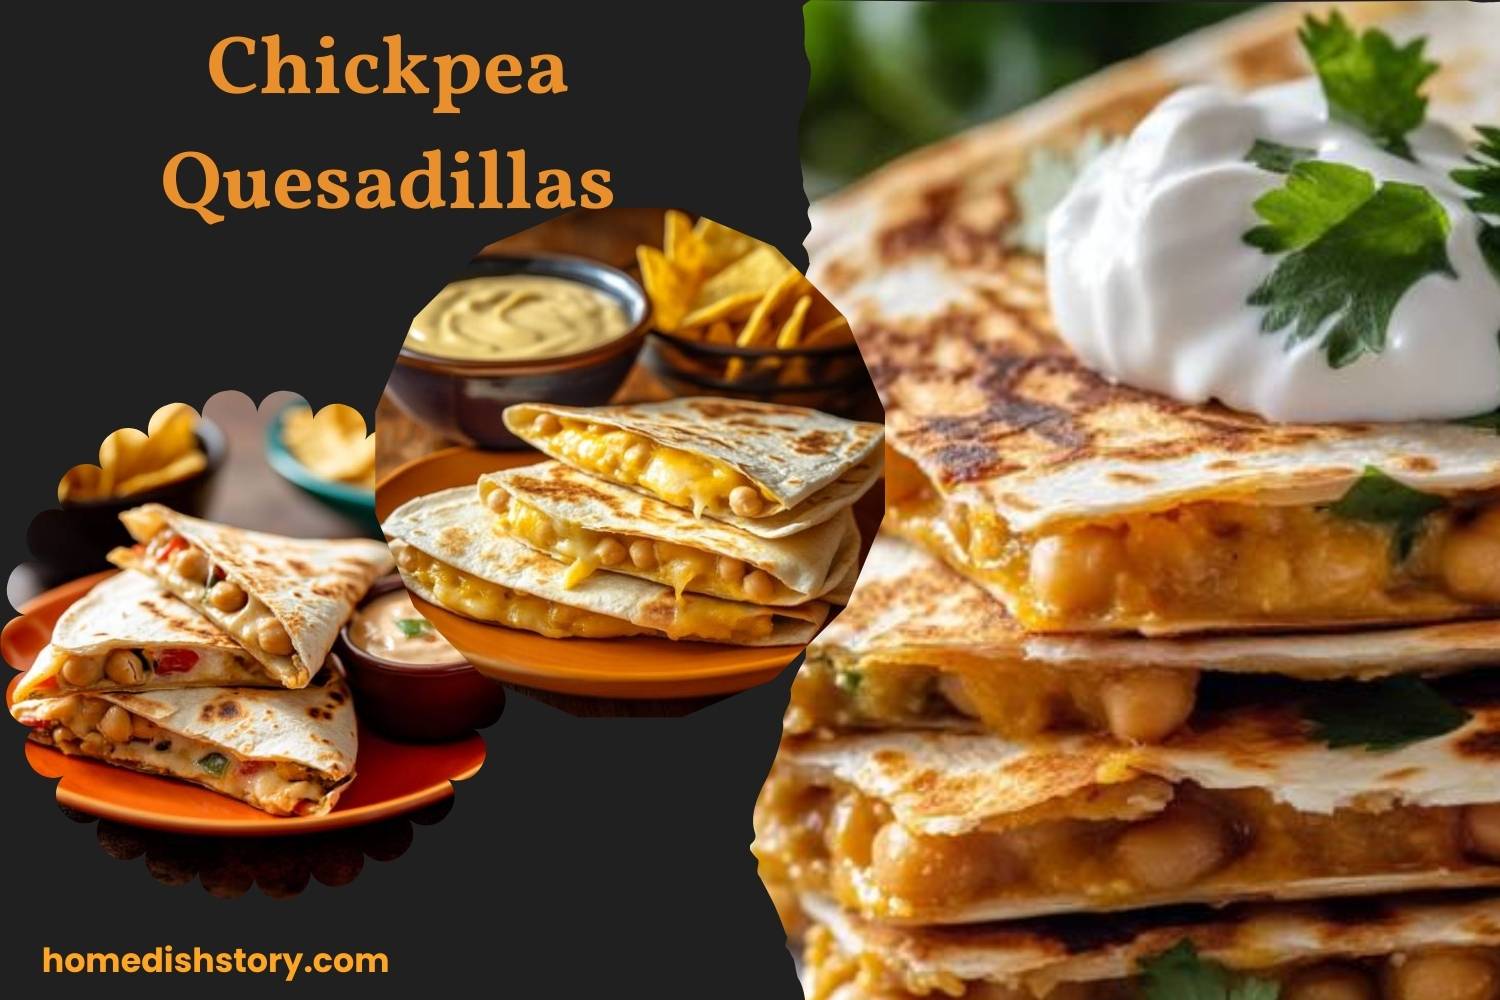

If you’re looking for a quick, delicious, and healthy meal, chickpea quesadillas are a fantastic choice! This recipe is not only packed with nutrients but also super tasty. Whether you’re a fan of vegetarian meals or just looking to try something new, these quesadillas are sure to please your taste buds.
Method in Detail
Prepare the Veggies and Chickpeas
The first step in making these delicious chickpea quesadillas is to prepare the vegetables and chickpeas. Start by dicing your brown onion and red bell pepper into small, bite-sized pieces. These will be sautéed to bring out their natural sweetness and add flavor to the quesadilla filling. While you’re working on the veggies, also take the time to mash your cooked chickpeas. You can use a fork or a potato masher to break them down. You don’t need to mash them until smooth; leaving a little texture will make the quesadilla filling more interesting.
Cook the Veggies
Next, heat a small amount of oil in a frying pan or skillet over medium heat. Once the oil is hot, add the diced onion and sauté it for about 3-4 minutes, until it becomes soft and translucent. This step is important because the onions will release their sweet flavor and become tender. After the onion is soft, add the chopped red bell pepper to the pan. Continue cooking for an additional 5 minutes, stirring occasionally, until the pepper becomes tender and softens up. The vegetables should now be aromatic and ready to add the chickpeas and seasonings.
Add the Chickpeas and Seasonings
Now, it’s time to add your mashed chickpeas to the pan with the cooked onion and bell pepper. Stir everything together until the chickpeas are evenly mixed with the veggies. Then, add the tomato passata, which will give the filling a nice saucy base. Season the mixture with salt, black pepper, paprika, and coriander powder. These spices will infuse the chickpeas with flavor, making the filling taste rich and vibrant. Stir everything well to combine, and cook the mixture for about 3 minutes. During this time, the flavors will meld together, and the sauce will thicken slightly, making the filling more cohesive and easier to handle when assembling the quesadillas.
Assemble the Quesadilla
Once the filling is ready, it’s time to assemble the quesadillas. Lay a tortilla wrap on a flat surface like a cutting board or a clean countertop. Sprinkle a generous amount of grated cheese (like gouda or any other cheese of your choice) over the entire surface of the tortilla. The cheese will melt beautifully inside the quesadilla, binding everything together. Next, scoop a portion of the chickpea filling onto the center of the tortilla, spreading it evenly. Be mindful not to overfill the tortilla, as that could make it difficult to fold and cook. Once your tortilla is filled with cheese and chickpeas, place another tortilla on top to cover the filling. Now your quesadilla is ready to be cooked.
Cook the Quesadilla
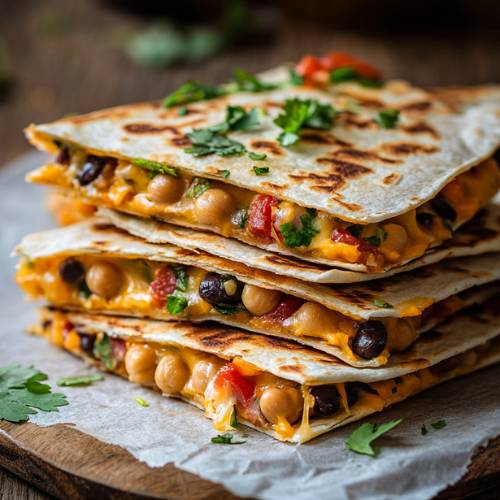
Heat a frying pan or skillet over medium heat. Once the pan is hot, carefully transfer the assembled quesadilla onto the pan. Let it cook for about 2-3 minutes on one side, checking occasionally to ensure that the bottom doesn’t burn. You’ll know it’s time to flip when the bottom is golden brown and crispy. Once you’re satisfied with the first side, flip the quesadilla over and cook the other side for another 2-3 minutes, until it’s golden brown and crispy as well. At this point, the cheese inside should be fully melted, and the tortilla will have a delightful crunch. Once both sides are perfectly cooked, remove the quesadilla from the pan and place it on a cutting board to cool for a minute before slicing.
Make the Avocado Sauce
While the quesadillas are cooking, take the time to prepare the creamy avocado sauce. In a small bowl, mash the avocado using a fork until smooth. Add chopped fresh coriander, water, mayonnaise, and olive oil to the mashed avocado. Squeeze the juice of half a lemon into the bowl, then add a small amount of honey or maple syrup for a touch of sweetness. Season with salt and pepper to taste, and stir everything together until you have a smooth, creamy sauce. This avocado sauce will be the perfect accompaniment to your crispy quesadillas, offering a fresh and creamy contrast to the savory filling.
Serve and Enjoy
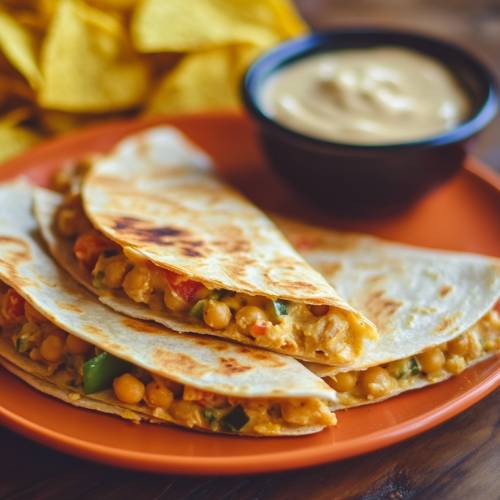
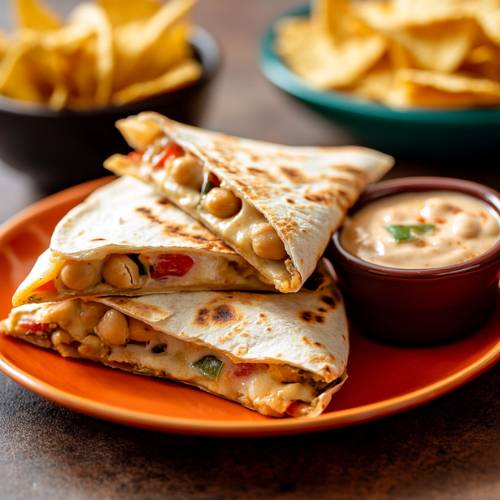
Once your quesadilla has cooled slightly, slice it into wedges with a sharp knife or pizza cutter. Serve the warm quesadilla with the creamy avocado sauce on the side for dipping. The sauce will add an extra burst of flavor that complements the savory, spiced chickpea filling. Now, all that’s left to do is enjoy every bite of this delicious and healthy meal!
Necessary Tools
- Frying pan or skillet
- Knife and chopping board
- Spoon or fork to mash chickpeas
- Grater (for the cheese)
- Small bowl for the avocado sauce
- Stirring spoon
- Serving plate
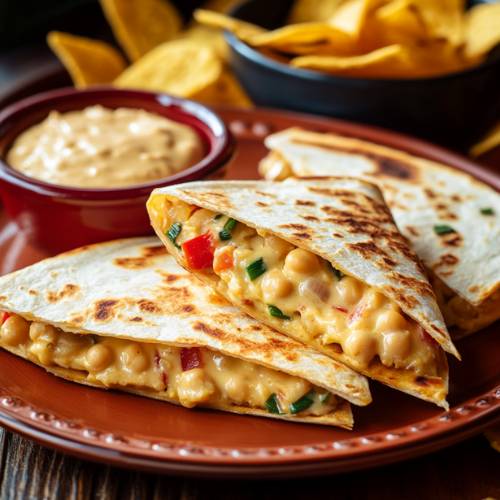
Chickpea Quesadillas: A Tasty and Healthy Delight!
Cuisine: MexicanDifficulty: Easy2
servings15
minutes15
minutes30
minutesIngredients
1 brown onion, diced
1 red bell pepper, diced
250g cooked chickpeas (you can use canned chickpeas, just drain and rinse them)
2 tbsp tomato passata
1 tsp salt
1/2 tsp black pepper
1/2 tsp paprika
1/2 tsp coriander powder
Tortilla wraps (the number depends on how many quesadillas you want to make)
Grated hard cheese (I used gouda, but feel free to experiment!)
For the Avocado Sauce:
1/2 avocado, mashed
2 tbsp fresh coriander, chopped
2 tbsp water
1 tbsp mayonnaise
1 tbsp olive oil
Juice of 1/2 lemon
1/2 tsp honey or maple syrup
Salt and pepper to taste
Directions
- Prepare the Veggies and Chickpeas: Start by dicing your onion and red bell pepper. You’ll also want to mash your cooked chickpeas with a fork or potato masher nothing too smooth, you want a bit of texture!
- Cook the Veggies: In a frying pan, heat a little oil and sauté the diced onion for about 3-4 minutes. Once the onion is soft, add the bell pepper and cook for another 5 minutes until it softens too.
- Add the Chickpeas and Seasonings: Add your mashed chickpeas to the pan, followed by the tomato passata, salt, black pepper, paprika, and coriander powder. Stir everything together and cook for an additional 3 minutes. The flavors will meld together wonderfully!
- Assemble the Quesadilla: Place your tortilla on a flat surface, sprinkle a generous amount of grated cheese, and then top with the chickpea filling. Cover with another tortilla.
- Cook the Quesadilla: Heat a pan over medium heat. Place the assembled quesadilla in the pan and cook for 2-3 minutes on each side or until golden brown and crispy. You’ll know it’s ready when the cheese is melted inside!
- Make the Avocado Sauce: While your quesadillas are cooking, prepare the avocado sauce. Simply mash the avocado and mix it with chopped coriander, water, mayonnaise, olive oil, lemon juice, honey (or maple syrup), salt, and pepper. Stir until smooth.
- Serve and Enjoy: Slice your quesadilla into wedges and serve with the creamy avocado sauce on the side for dipping. Enjoy every bite!
Notes
- Don’t Overfill the Quesadilla: Be careful not to overload the tortilla with too much filling, or it might be hard to flip without spilling. Keep it light and easy.
- Heat Control: Make sure to cook your quesadillas over medium heat. Too high a temperature might burn the outside while leaving the inside undercooked.
- Watch the Cheese: If you use a cheese that melts quickly, make sure to keep an eye on it while cooking to avoid burning the tortilla before the cheese melts.
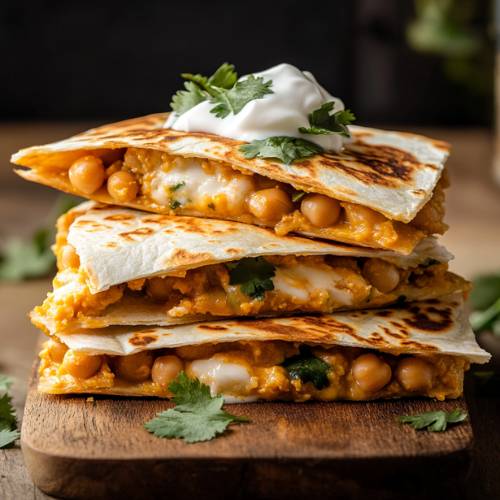
Serving Suggestions
Chickpea quesadillas are great on their own, but you can also serve them with:
- A fresh side salad with greens like spinach, arugula, or lettuce.
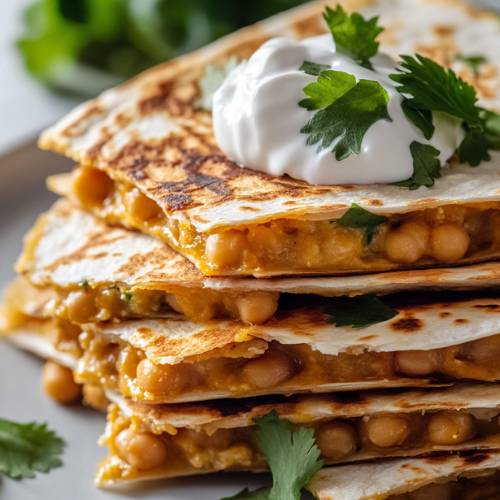
- A scoop of sour cream or Greek yogurt for extra creaminess.
- A side of salsa or guacamole for added flavor.
Fun Fact
Did you know that chickpeas are also known as “garbanzo beans” and are packed with protein and fiber? They are a fantastic meat alternative and can help keep you full and satisfied for longer.
Conclusion
These chickpea quesadillas are the perfect meal for anyone looking for something delicious and healthy. They’re quick to make, full of flavor, and packed with nutrients from chickpeas, veggies, and avocado. You can customize them with your favorite toppings, and they make a perfect lunch, dinner, or snack. Don’t forget to serve them with that creamy avocado sauce – it’s the perfect finishing touch!