
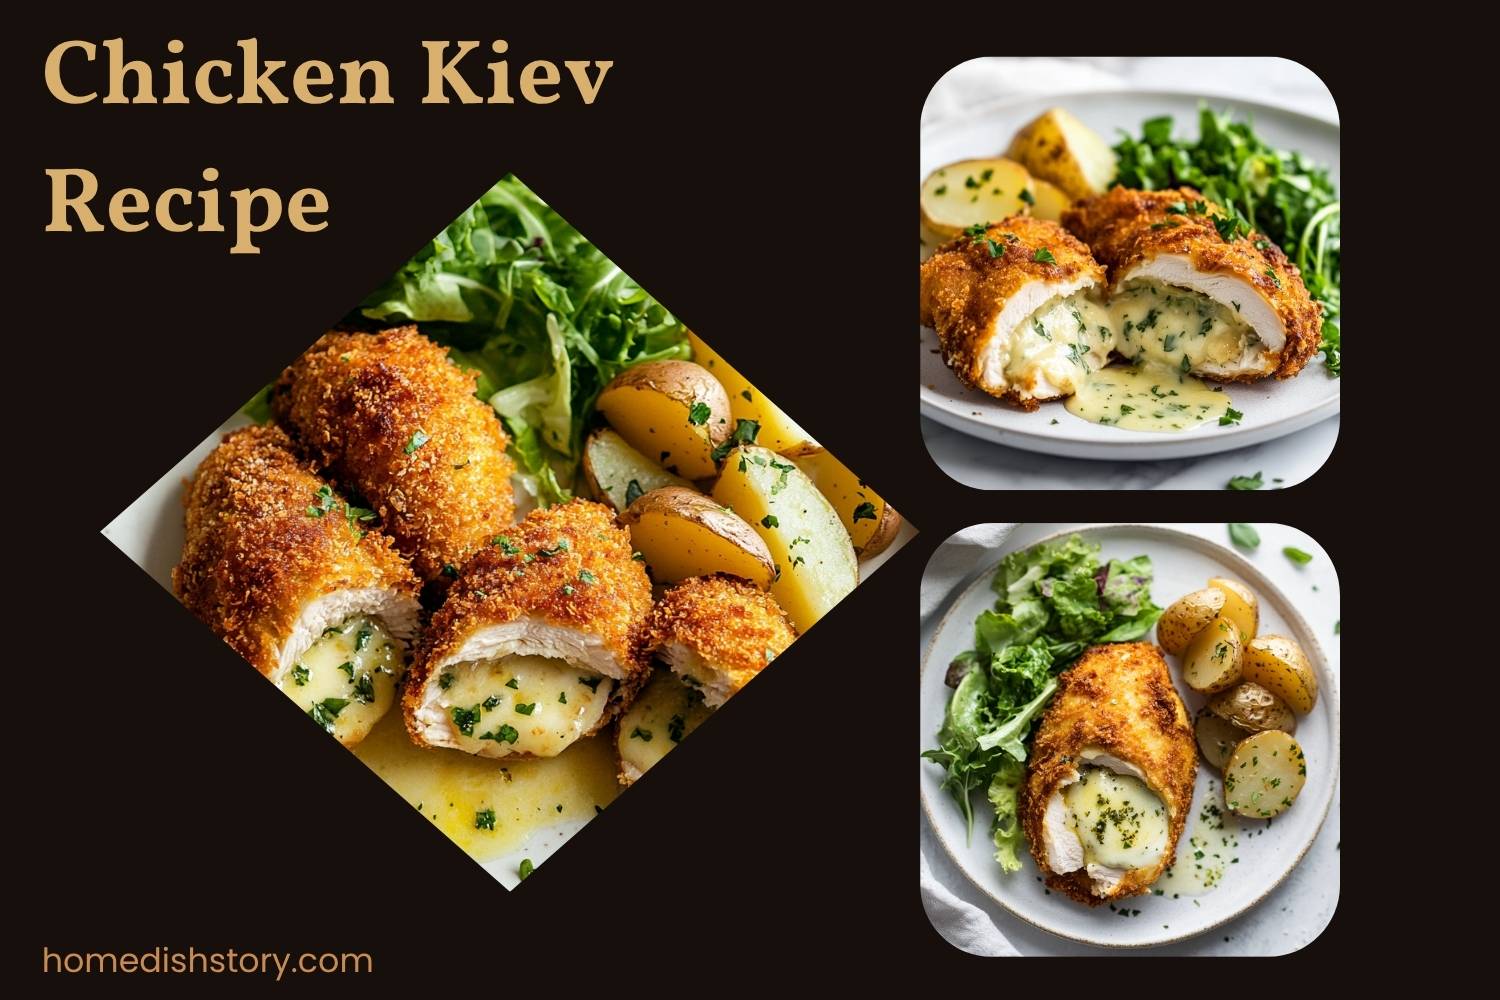

Who doesn’t love the crispy crunch of breaded chicken, only to bite into a delicious, garlicky surprise inside? Chicken Kiev is a classic favorite, and when made in the Airfryer, it’s even better. You get all the flavors of the traditional recipe without the deep frying, making it a healthier, yet equally mouth-watering option. Ready to get cooking? Let’s dive into this easy, flavorful Chicken Kiev recipe!
Method in Detail
Make the Garlic Butter
Start by preparing the garlic butter. In a mixing bowl, combine 3-4 tablespoons of half-fat butter with 4-6 garlic cloves, grated or minced to your liking. Add a handful of chopped fresh parsley, and season with a pinch of salt and pepper. Using a fork, mash all these ingredients together until they are well-blended into a smooth mixture. This buttery mixture will give your chicken the most delicious garlicky flavor when baked.
Freeze the Garlic Butter
Once your garlic butter is ready, it’s time to roll it into a shape that will fit perfectly inside the chicken breasts. Lay the butter mixture onto a piece of cling film. Roll it into a tight sausage shape, ensuring that the butter is evenly distributed. After you’ve shaped it, wrap the cling film tightly around the butter and place it in the freezer. Allow it to freeze for at least 2 hours or overnight for best results. Freezing the butter makes it easier to slice and stuff inside the chicken breasts.
Prepare the Chicken
After the garlic butter has frozen and firmed up, take it out of the freezer. Remove the cling film and slice the butter into small discs. Next, grab your chicken breasts and create a pocket in each by slicing them horizontally, but not all the way through. You want to create a nice, deep pocket where you can place the slices of garlic butter. Once the pockets are ready, stuff each chicken breast with the garlic butter slices, making sure it’s well-packed but not overflowing.
Coat the Chicken
The next step is coating the chicken to make it crispy and golden when air fried. Start by lightly dusting each stuffed chicken breast with flour. This helps the egg stick. Next, dip the floured chicken into a beaten egg, ensuring it’s completely coated. Finally, roll the chicken in breadcrumbs, pressing lightly so that they stick. For the crunchiest result, I recommend using Panko breadcrumbs. This coating will create that satisfying crispy exterior when air-fried.
Optional Step – Secure the Chicken
If you’re concerned about the butter leaking out while cooking, here’s a simple trick: use cocktail sticks to seal the opening of each chicken breast. This will help keep the garlic butter in place while the chicken cooks. Just be sure to remove the cocktail sticks before serving so that no one accidentally bites into one!
Airfry the Chicken
Now for the final step! Lightly spray the chicken breasts with cooking spray to help them crisp up in the air fryer. Set your air fryer to 200°C (390°F) and cook the chicken for about 20-22 minutes. The chicken should be golden brown on the outside and fully cooked on the inside. If you’re not sure, you can check the internal temperature—it should reach 75°C (165°F) to ensure it’s safe to eat. Depending on the size of your air fryer, you may need to cook the chicken in batches to prevent overcrowding and ensure even cooking.
Let the chicken rest for a minute or two before serving, and enjoy the crispy, garlicky goodness you just made!
Necessary Tools
- Airfryer
- Cling film
- Fork
- Mixing bowl
- Knife
- Small bowl for egg
- Shallow dish for flour
- Shallow dish for breadcrumbs
- Cocktail sticks (optional)
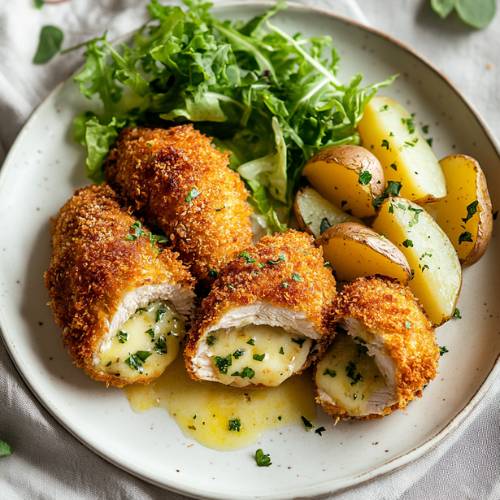
Airfryer Chicken Kiev Recipe
Cuisine: FrenchDifficulty: Easy4
servings10
minutes20
minutes30
minutesIngredients
3-4 tbsp half-fat butter
4-6 garlic cloves, grated or minced
A handful of fresh parsley
Salt and pepper
3-4 chicken breasts
100g+ breadcrumbs (I like Panko)
3 tbsp flour (optional)
1 beaten egg
Directions
- Make the Garlic Butter: In a bowl, mash the butter, grated garlic, chopped parsley, and a pinch of salt and pepper together with a fork until well combined.
- Freeze the Garlic Butter: Lay the garlic butter onto a piece of cling film, roll it up into a sausage shape, and freeze it for at least 2 hours or overnight.
- Prepare the Chicken: Once the garlic butter is frozen, remove it from the cling film and slice it into small pieces. Make a pocket in each chicken breast and stuff it with the garlic butter slices.
- Coat the Chicken: Dip each chicken breast into flour (optional), followed by the beaten egg, and finally coat it in breadcrumbs.
- Optional Step: To keep the butter inside, you can secure the chicken with cocktail sticks (just be sure to remove them before serving!).
- Airfry: Lightly spray the chicken with cooking spray and air fry at 200°C for 20-22 minutes until golden brown and cooked through.
Notes
- Watch for butter leaks: If you’re worried about the garlic butter leaking out during cooking, you can secure the chicken with a cocktail stick to keep the butter inside.
- Check the chicken’s internal temperature: To ensure it’s fully cooked, check that the internal temperature reaches 75°C (165°F).
- Don’t overcrowd the air fryer: For even cooking, it’s best to air fry the chicken in batches if your air fryer is small.
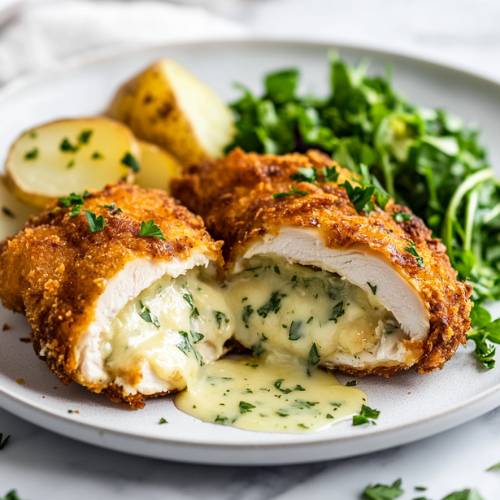
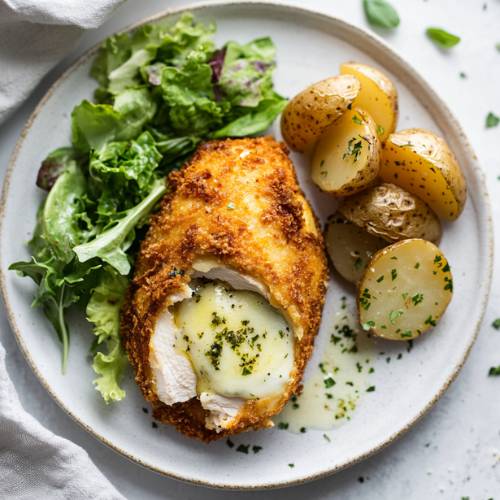
Serving Suggestions
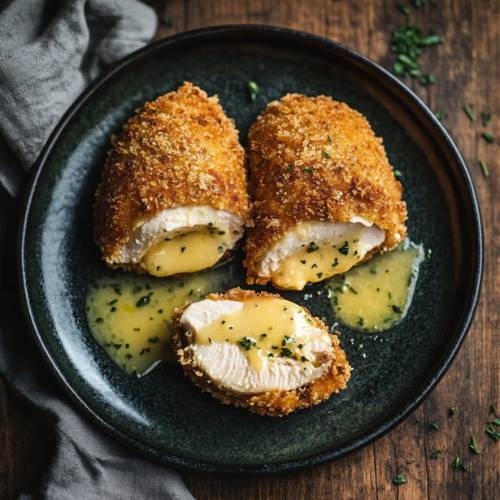
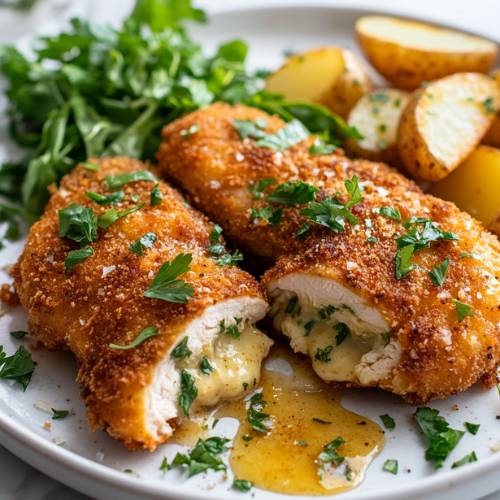
This dish pairs perfectly with mashed potatoes, a fresh green salad, or some roasted veggies. You can even serve it with a side of garlic bread for an extra treat! If you’re feeling adventurous, why not top it off with some extra parsley or even a squeeze of lemon for a bit of zest?
Fun Fact
Did you know that the Chicken Kiev is believed to have been invented in the 19th century by Russian chefs? It’s not actually from Kiev, but the name stuck, and it’s become a well-loved dish worldwide!
Conclusion
This Airfryer Chicken Kiev is everything you want in a comfort meal crispy on the outside, juicy and garlicky on the inside, and super easy to make. Plus, it’s a healthier alternative to the classic version without compromising on flavor. So, next time you’re craving something tasty and satisfying, give this recipe a try! Enjoy!